HomeHome  
 
Gallery Mods How-To Specs Log Sites Contact


Did this help you out? Feel free to throw us a bone to help keep housecor's how-to's hosted!


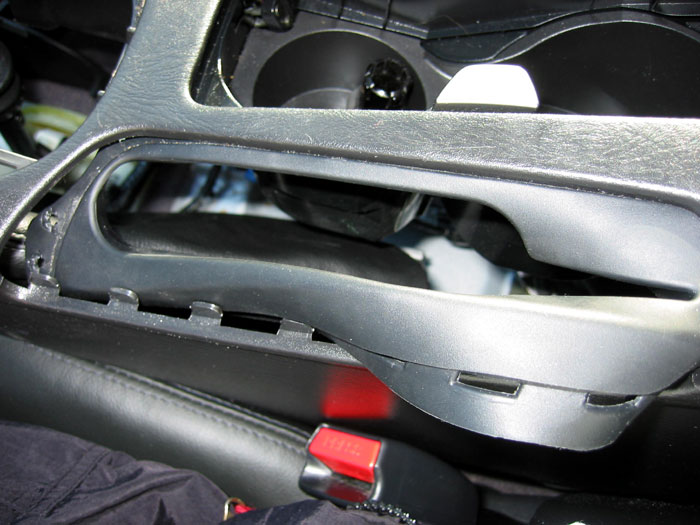
How to install leather emergency brake boot

I've always thought the 5th gen. Maxima emergency brake boot was chintzy looking, particularly the fact that the end of the plastic base is visible through the rubber boot. I purchased a black Italian leather shift boot with titanium stitching from redlinegoods.com. It was shipped quickly and came all the way from Poland within just a few days.

tools:

  • Phillips screwdriver
  • Flathead screwdriver
  • Belt wrench (in case shifter knob is too tight)
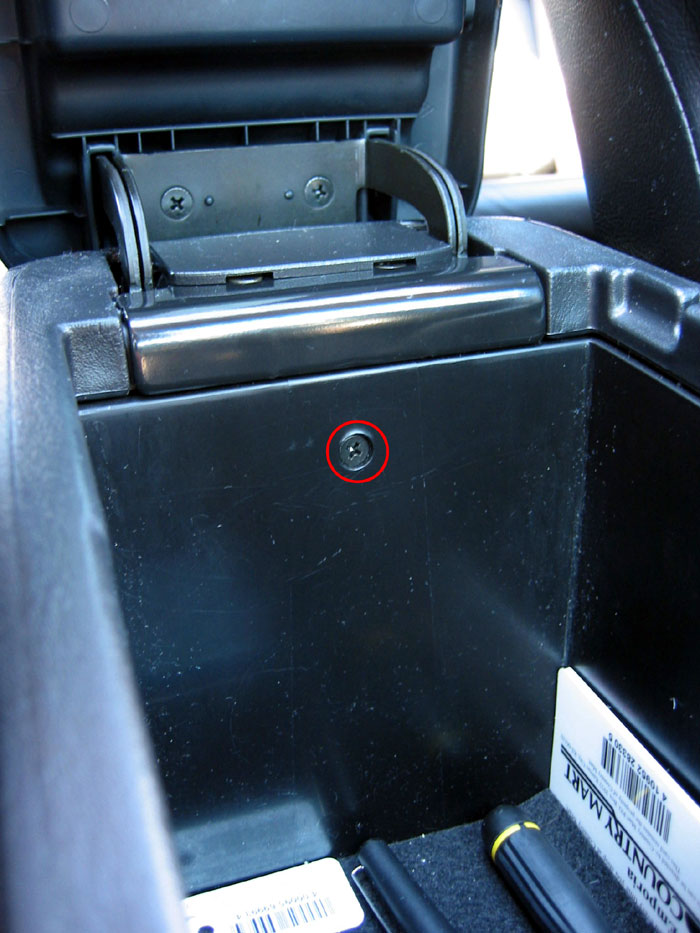
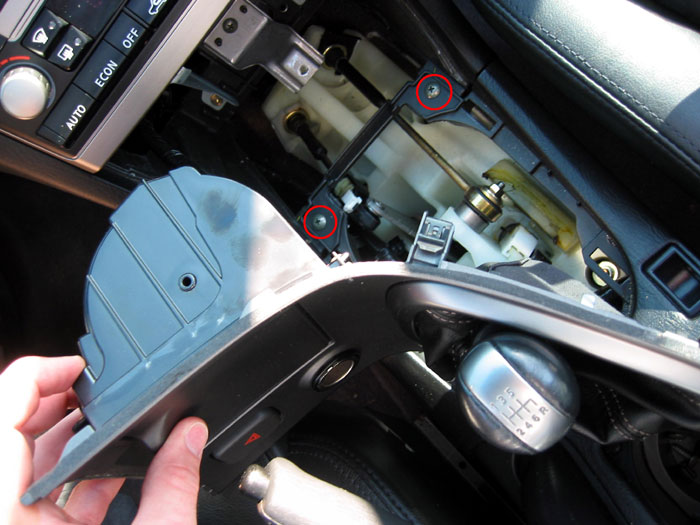
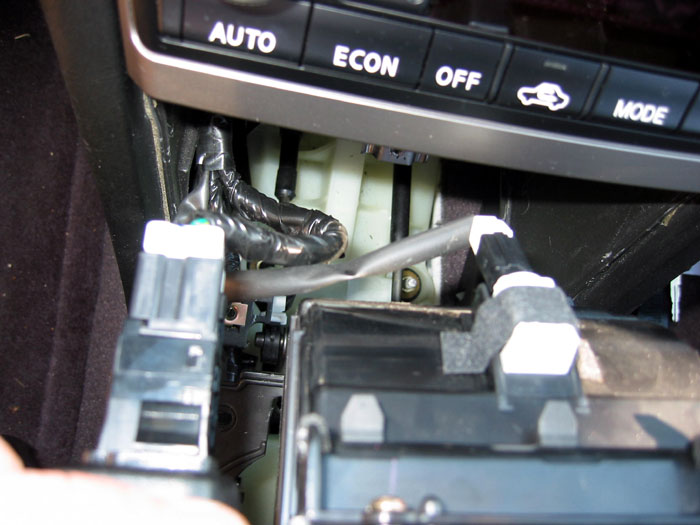
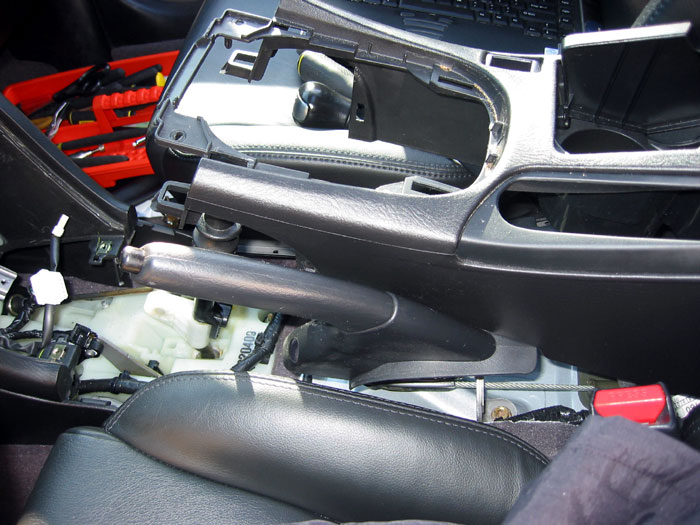
 

INSTRUCTIONS:

1. Remove ashtray insert to expose the screw behind it. Remove screw.
   
2. Open armrest and remove screw on the back wall of the storage console.
s
   
3. Remove one screw from each side of the armrest unit on the lower corner.
   
4. Pull up on the trim around the shifter on the side closer to the cupholders. This will release clips.
5. Remove the shift knob by twisting counter clockwise. It will be very tight and may require a belt style wrench.
   
6. Remove the trim piece by pulling up on both sides of the shifter and pulling down underneath the climate controls
   
7. Remove the two screws circled in red:
   
8. Disconnect the three clips on the back of the trim piece. Use a flathead screwdriver to release the clips.
   
9. Two clips remain securing the armrest console. They are visible inside the console. Release one clip from each side.
   
10.  The console can now be lifted up and over the top of the emergency brake. If you have heated seats the wiring will still hold the console down a bit. Remove these plugs as well if you choose, but it's not necessary.

The console removed and sitting off to the side:
   
11. If you choose, you can remove the rubber shift boot and install the leather shift boot in its place. To do so, remove the rubber boot attached to the console by pulling down from underneath on the passenger's side and pulling up from above on the driver's side. The leather boot should come with the holes necessary to attach to the points where the rubber boot was. I emphasize should because mine didn't. This wasn't a problem for me because I chose to leave the rubber boot in place and just install the boot over the e-brake. I prefer this look since there is no extra bunching material this way.

The rubber boot partially removed:
   
12. If you chose to install the leather boot in place of the rubber boot, reinstall the rubber boot underneath the leather boot. They can share the same mount points and the rubber boot will secure the leather boot and be out of sight under the leather boot. If you choose to leave the rubber boot in tact (as I did), just slide the leather boot over the emergency brake and pull it down as far as possible
   
13.

Reinstall console in reverse order. The results:


Copyright © 2003-2009. All rights reserved.

Instructions are for entertainment purposes only. Perform at your own risk.
This site is in no way affiliated with Nissan North America, Inc.
Nissan, the Nissan Brand Symbol, "SHIFT_" tagline, and Nissan Model Names are trademarks of Nissan North America, Inc.