|
3M Clear Bra by Invinca-Shield - Installation
After reading many positive reviews by Maxima.org members on the
3M Clear Bra, I purchased a pre-cut clear bra from Invinca-
| |
|
| |
Did this help you out? Feel free to throw us a bone to help keep housecor's how-to's hosted!
|
| |
|
Shield.com They were offering a 10% off offer at the time, so my
total came to around $260 for the following pieces:
- hood
- bumper
- front fender
- behind the headlight
- mirrors
I installed the kit myself with the help of a friend (highly recommended).
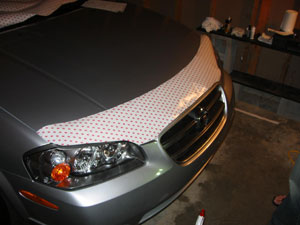
Below are pictures of the install.
A few lessons learned:
- Trim the film with the paper backing attached if at all possible.
Actually, you shouldn't have to trim the material at all since
it's supposed to be cut to fit, but you have to get it positioned
perfectly to avoid having to trim...your call.
- You might want to hire a professional if you plan to do the
bumper in one piece. It is a bear and I had to cut it into four
pieces to get it on smooth. Extra seams are a disappointment,
but thankfully, nearly invisible. Nice trick: If you use the 2
piece technique (my kit actually came cut this way, though I understand
it's normally sent as one piece) a front plate will cover the
seam. Read below on more details on the bumper piece.
- Do NOT attempt to trim the film by hand with scissors. Use a
ruler to draw a straight line on the paper as a guide and use
an x-acto knife. Scissors tend to bunch and wrinkle the edge of
the material and produce jagged results.
Steps:
- Collect your tools.
Provided with the kit:
- Spray bottle (filled full with water and a capful of soap)
- Soap mix
- Vinyl squeegee
- Lint free towel
Necessary, but not provided:
- Second spray bottle (filled with 50/50 rubbing alcohol and water
- about 10 fl. ozs. should be plenty) This solution helps "tack
down" edges that don't want to stay down.
- X-acto knife
- 3M Adhesive remover (available at most auto parts stores)
- Sweep your garage. A dust free environment is important since
anything that gets under the bra will be visible.
- Wash and dry car.
-
 Clean
parts of car where bra will be applied with 3M Adhesive Remover. Clean
parts of car where bra will be applied with 3M Adhesive Remover.
- Place the material on the car to assure you have the right
piece and it a proper fit. Keep in mind that the adhesive side
with paper attached is the side that will actually be attached
to the vehicle. Therefore, test fitment of driver's side pieces
on the passenger side and vice versa.
- Wash hands thoroughly. The material fingerprints easily and
clean hands won't fingerprint.
- Spray hands with Soap solution. Keep hands wet during all steps
of the install to further protect from fingerprints.
- Pull away the backing on the film and spray with soap solution
as you're removing the backing. Spray the part of the car where
you're applying the film with the soap solution as well.
- Place film on the vehicle and position within 1/8" of
the edge of the part.
- Squeegee out bubbles and excess soap with lint free towel wrapped
around squeegee to protect film from scratching.
- Tack down edges with 50/50 solution if necessary
- Clean area with 50/50 solution.
- Dry off with soft terry cloth towel.
- Enjoy the results, which are hopefully nearly invisible.
I recommend using your windshield as a shelf for the pieces to
keep them flat.The hood piece is by far the easiest piece to work
with. We had it down, squeegeed and bubble free in well under 5
minutes. Now the bumper was a different story...
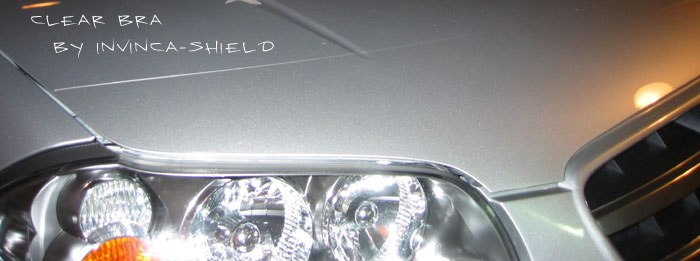
Here is a shot of the finished job. You can wax the bra just like
your paint. There are some artifacts in the picture that my look
like bubbles. They're not, I just had some soapy water on my lens
in this shot. For pictures after a good polish and wax, click
here.
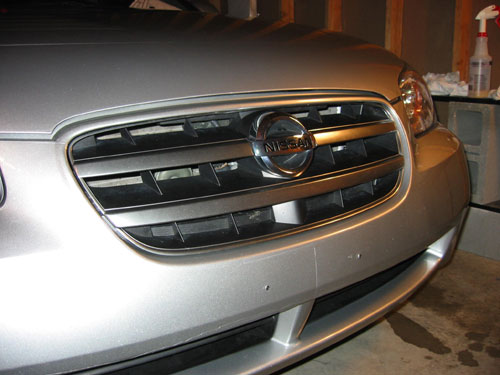
Bumper issues:
We wrestled with stretching the bumper piece to fit around the corner
for over an hour but couldn't resolve bunching issues on the corner.
It's as though the factory slit in the film was a little too far
back on the fender. As resolution, you can see in the picture above
the section on the corner of the bumper I decided to cut out due
to fitment issues.
It recently hit me why the bumper didn't fit properly. I believe
I may have switched the sides. If you switch the sides the slit
that helps the piece fit around the corner of the bumper faces the
wrong direction. It's really easy to do since the pieces are just
mirror images and aren't marked. What you have to keep in mind is
the side that has the backing is the side that should be attached
to the car. Nonetheless, again, if you plan to do the bumper in
one piece, I'd recommend hiring a professional. If you don't mind
cutting it into four pieces and exposing a small corner of your
bumper, then it's pretty easy. However, I think this is ghetto and
wish I would have been more patient in retrospect.
The bumper piece is created to be long enough to wrap underneath
the bumper but I had difficulties getting it to stick (even with
the 50/50 alcohol mixture) so I trimmed the film with scissors.
If you look close you can see the jagged cut...Lesson learned the
hard way. Do as I say, not as I do!

I recommend roughing this piece out and wrapping it underneath.
Hopefully you'll have better luck then I did. They say you can't
use too much soap, but I say don't overdo it, it only makes it more
difficult to get the piece to wrap around the corner.
After initial installation the bra was a little more visible than
I expected. However, after a good polish
and wax it really disappears nicely.
UPDATE: After a few months with the
clear bra, I have yet to get a single nick in any of the protected
area!
|

